Email Your NPS Question using Klaviyo and a Shopify Landing Page
This guide walks you through sending your NPS question to customers via a Klaviyo email flow. Customers can submit their NPS score directly within the email, then are taken to a Shopify landing page to complete any follow-up questions and view your success message.
Follow the instructions below to set up your NPS question, create your Shopify landing page, and configure your Klaviyo email flow.
If you are not using Klaviyo, please reach out to support@fairing.co for email embed instructions for your platform.
Target questions to your landing page
To display a question on your Landing Page, you must target it to
Shopify Landing Page.
-
Go to https://app.fairing.co and click on
Questionsin the navigation.
-
Find your NPS question and click on
More actionsthenEdit.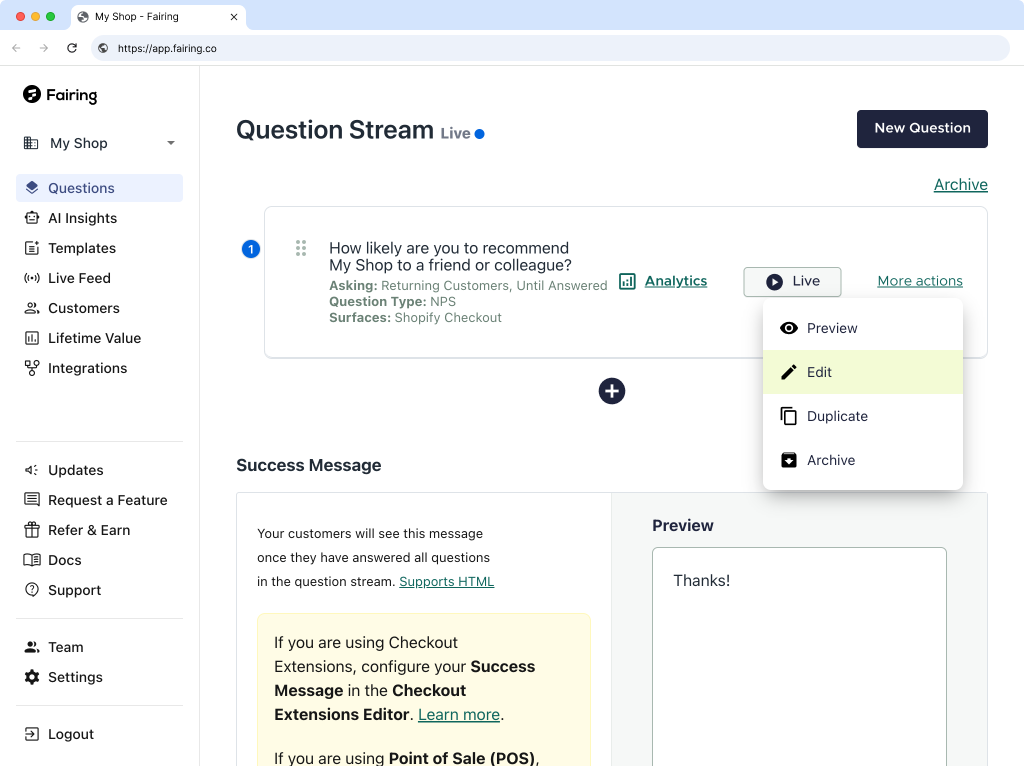
-
Scroll to Where should we ask? and select
Shopify Landing Page.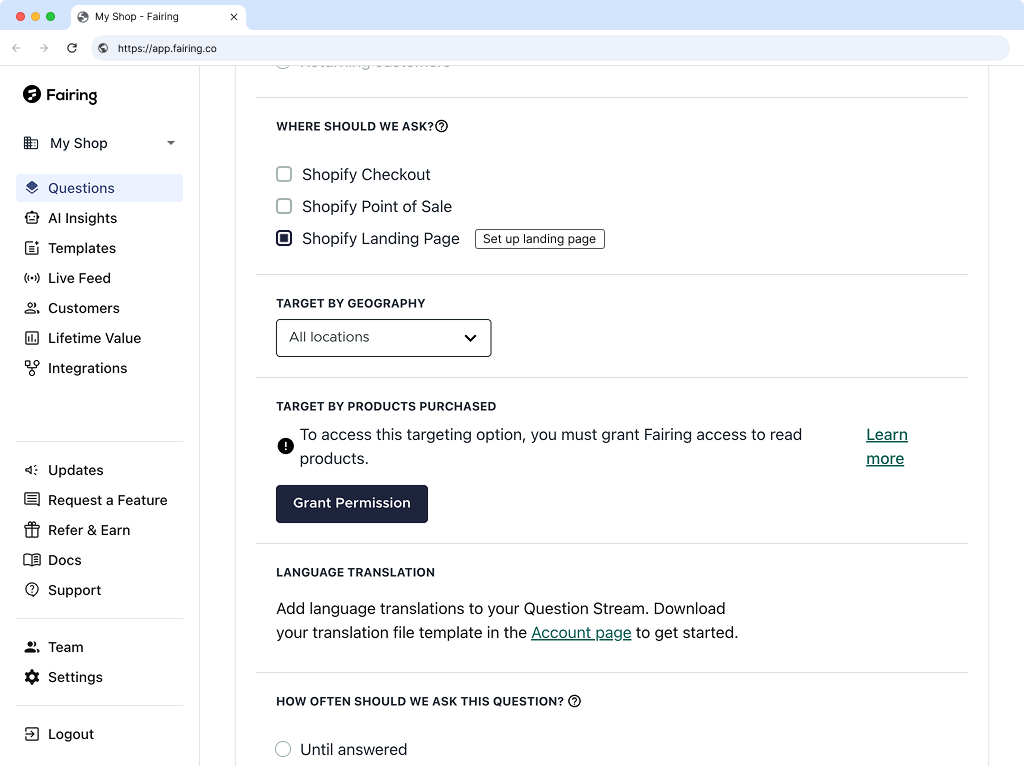
-
Scroll to scroll to the bottom and and select
Save.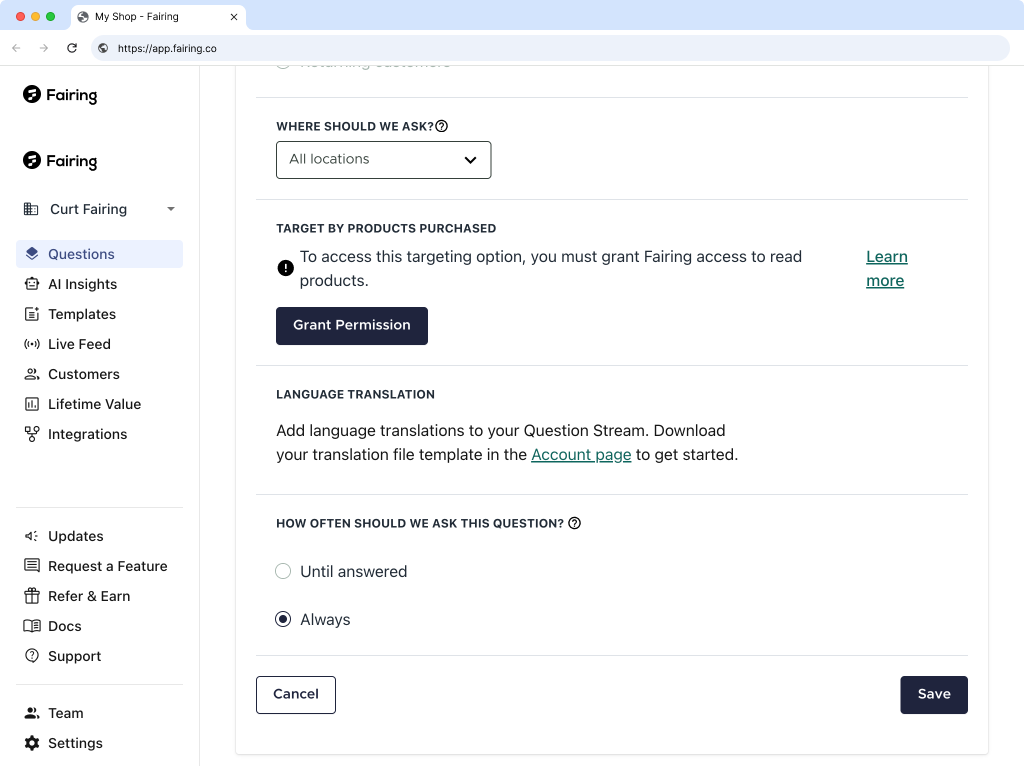
Landing page setup
Follow the steps below to create your Shopify Landing Page. You will link to this page from your email.
Copy your Fairing API key
-
In Fairing, navigate to
Settings.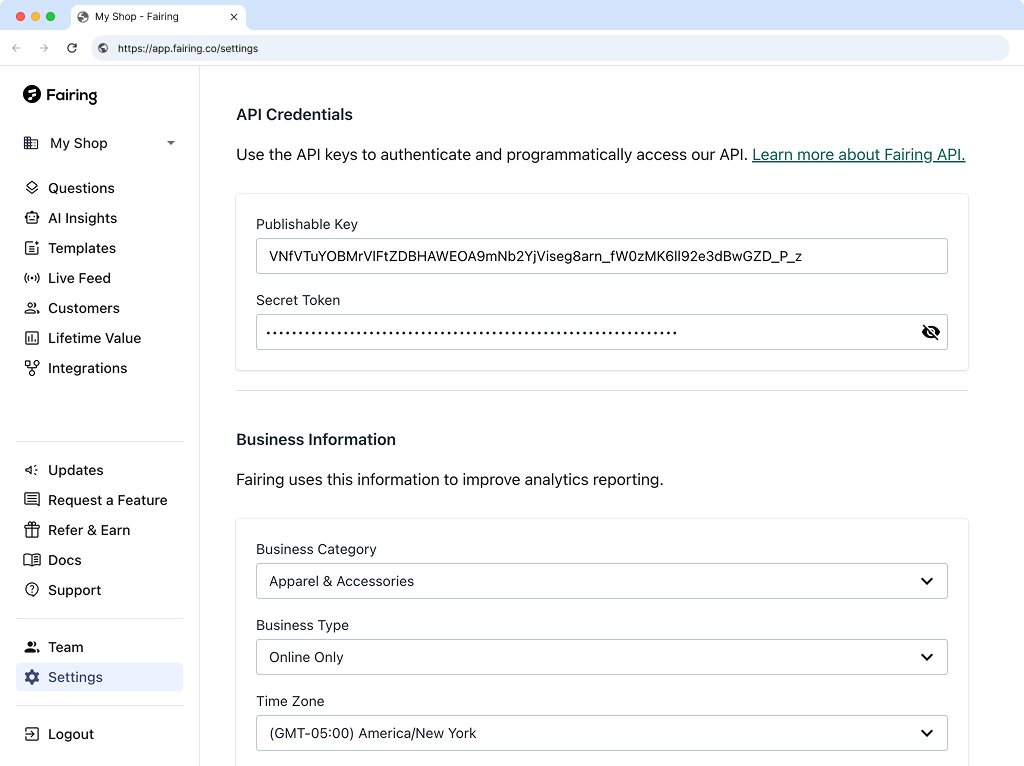
-
Copy your Publishable Key.
-
Paste your Fairing Publishable Key below
Create a Shopify landing page
-
In Shopify navigate to
Online Store › Pages.
-
Click
Add Page.
-
Add a
Titlefor your landing page.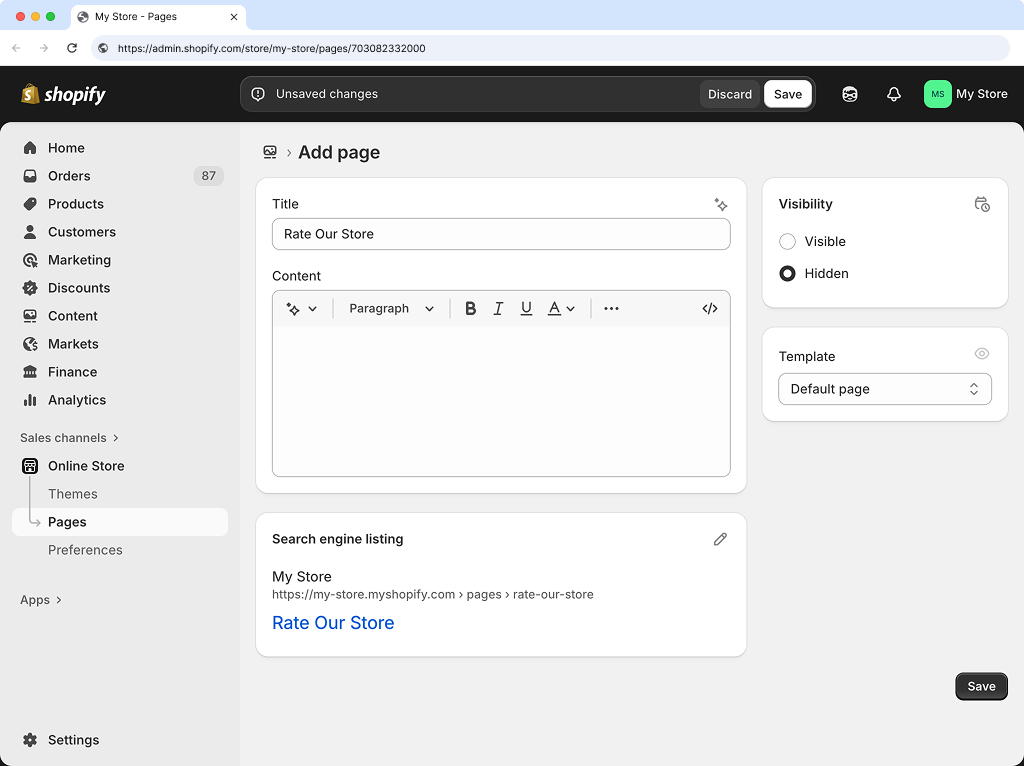
-
Toggle
Visibleon.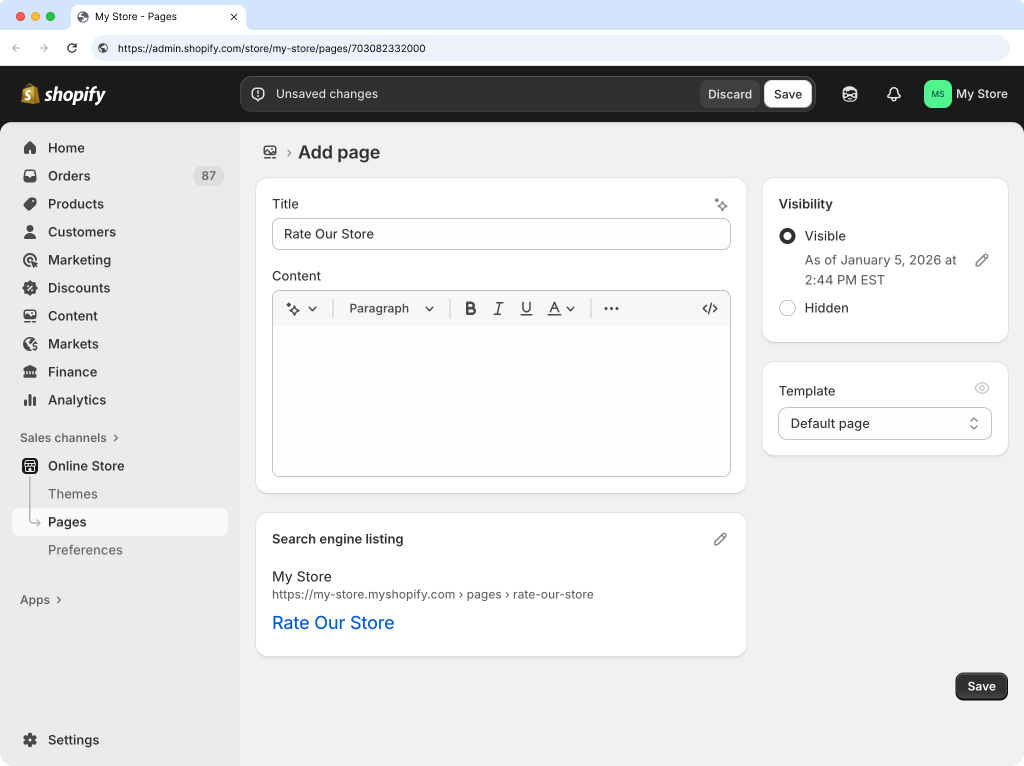
-
Click
Show HTML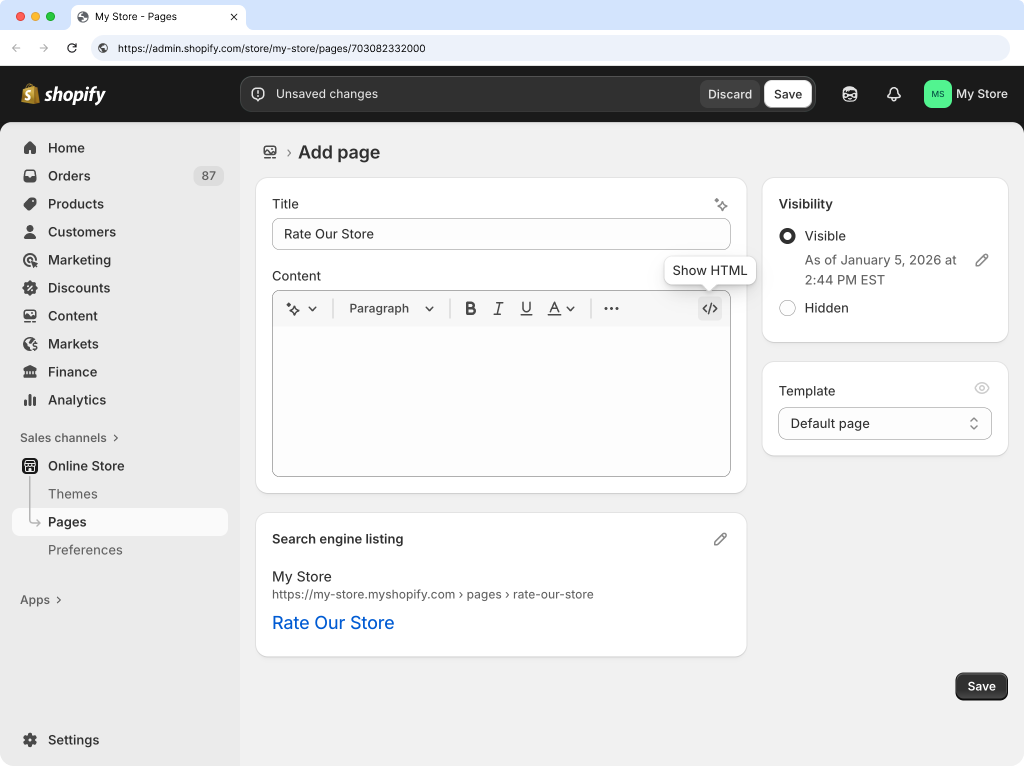
-
Copy and paste the HTML below into the content box in Shopify.
warningMissing API Key
You haven't entered your Fairing API Key yet. Please enter it above.

-
Click
Save.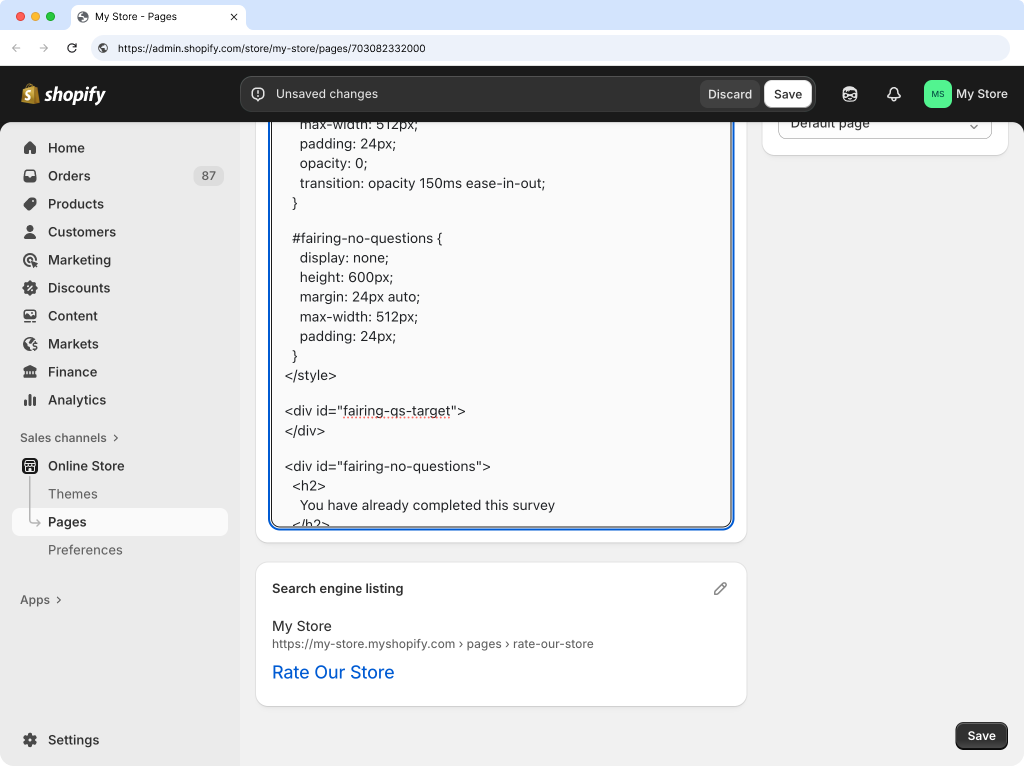
-
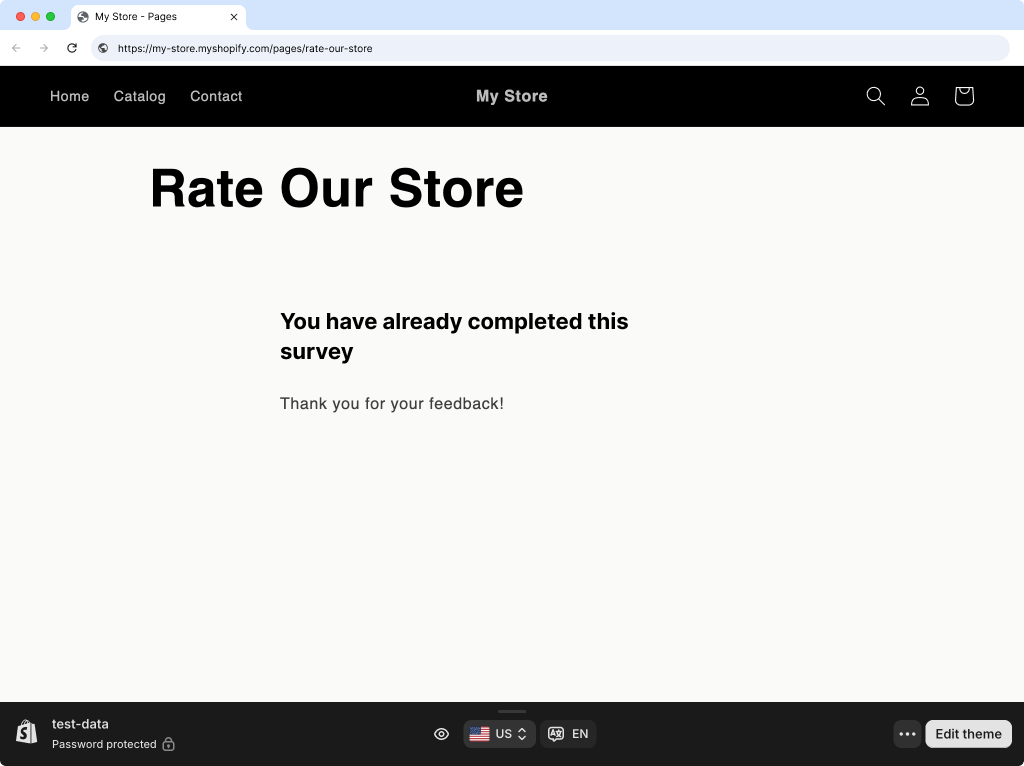
Click
View.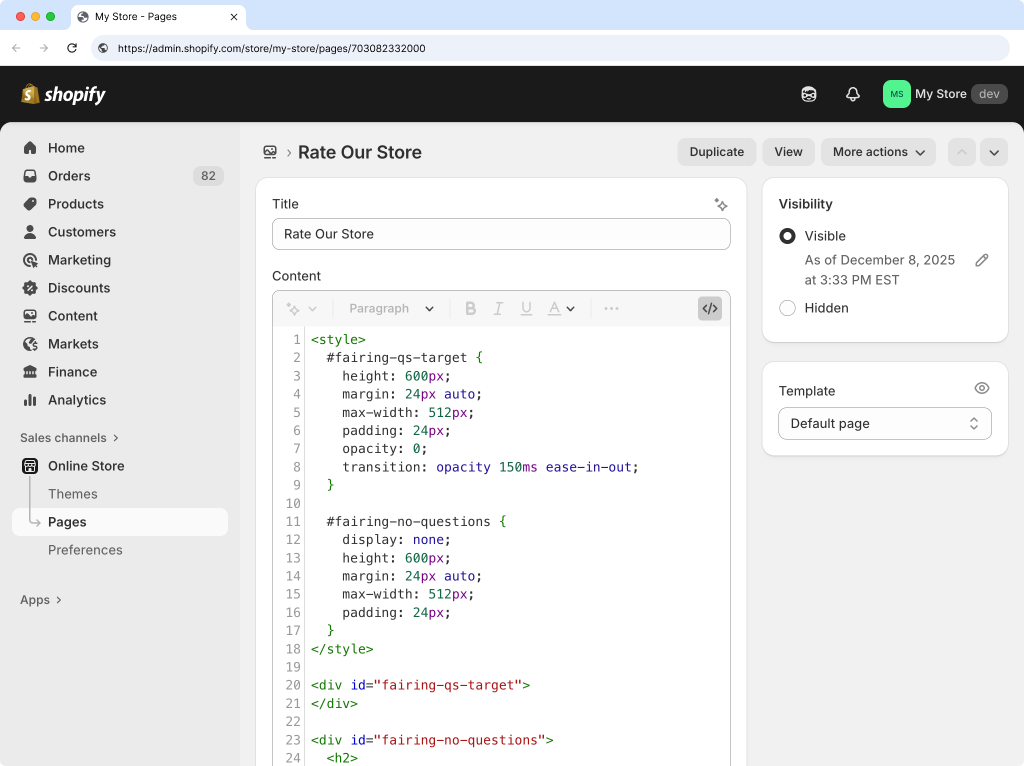
-
Copy your landing page URL from your browser and paste it into the box below.
Test Your Shopify Landing Page
-
In Shopify, go to the
Orderspage and select an order.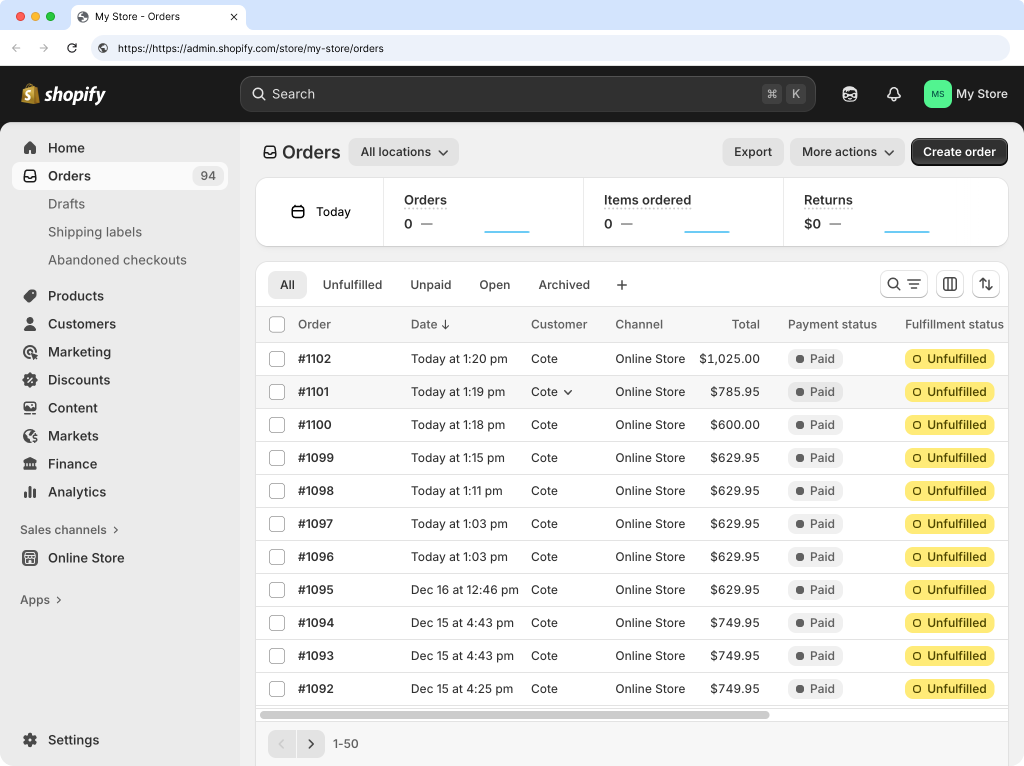
-
Select the order ID from the URL and copy it.
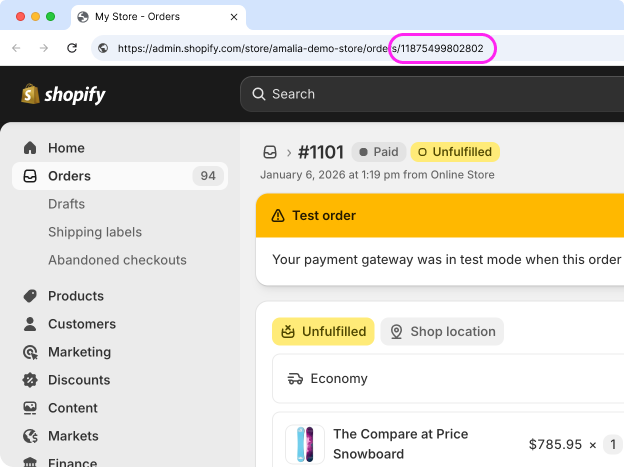
-
Paste the order ID in the box below, and then click the test link to preview your landing page.
Open Landing Page Test LinkNote: The test link loads Fairing in Test Mode, allowing you to submit responses without storing any data in your Analytics.
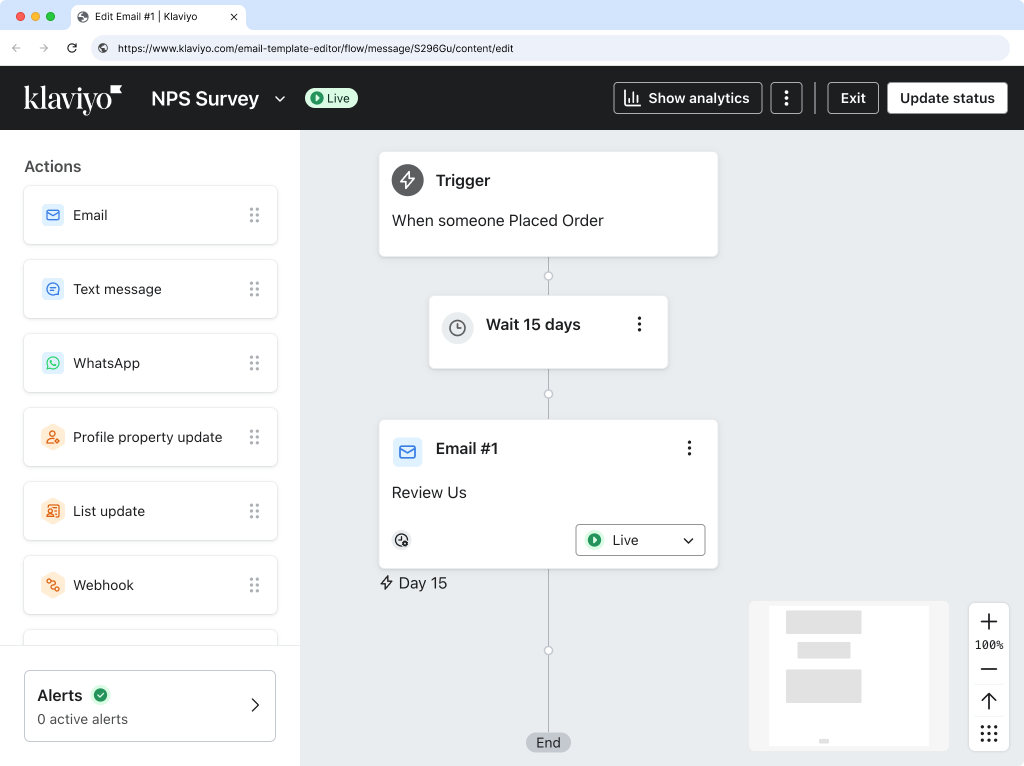
Klaviyo Flow Setup
Create a Flow in Klaviyo that triggers the email directing customers to your custom landing page.
-
In Klaviyo, navigate to
Flowsand then clickCreate Flow.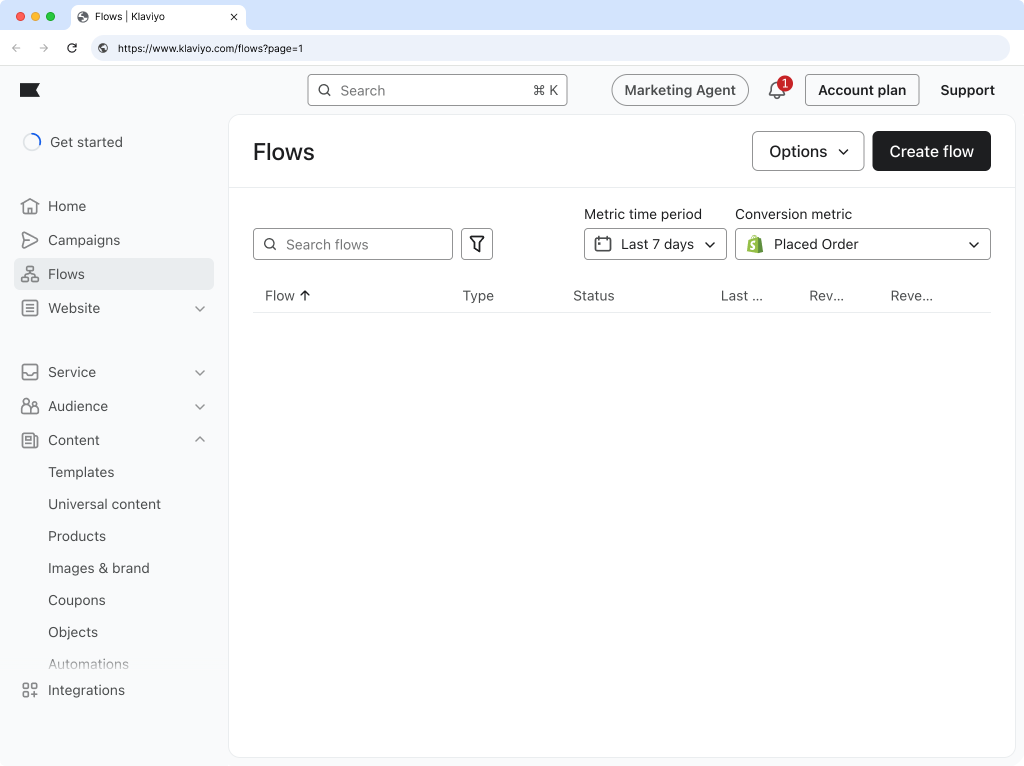
-
Click
Build your own.
-
Name your flow and click
Create flow.
-
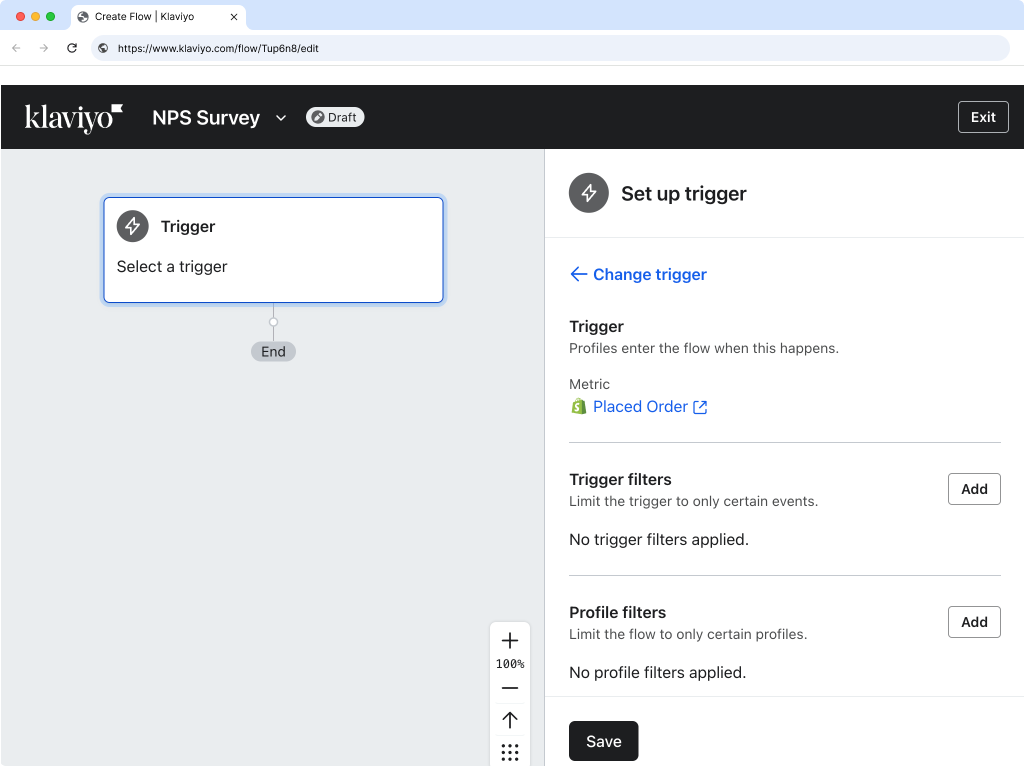
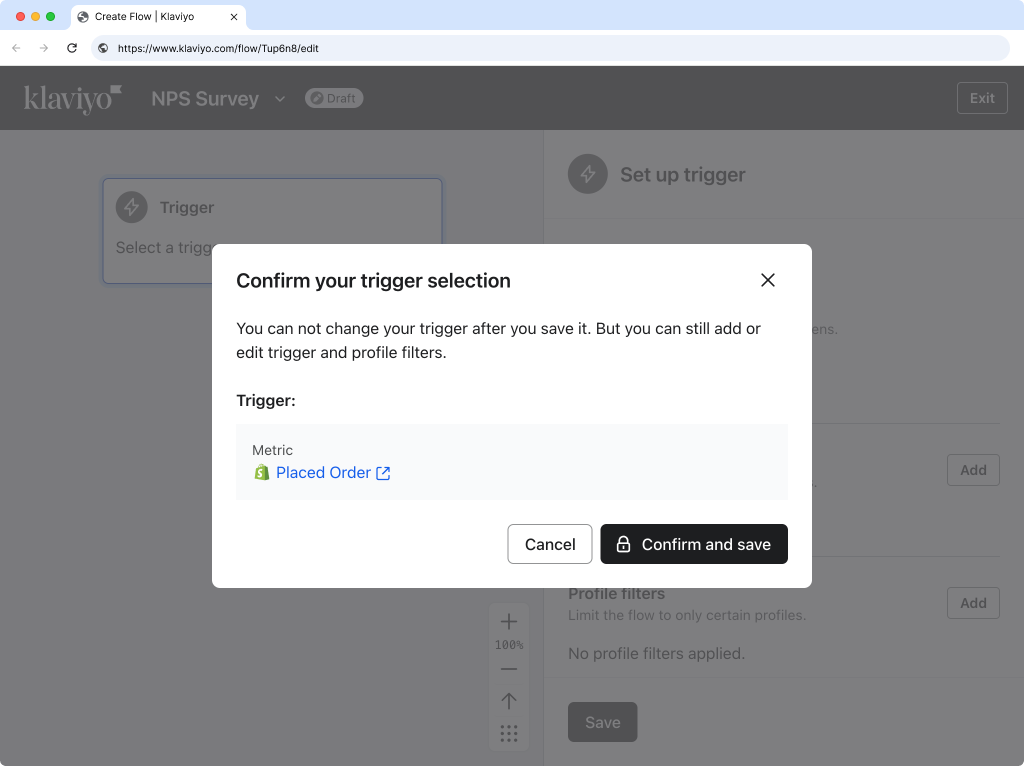
Select
Placed Orderas the trigger, then save and confirm.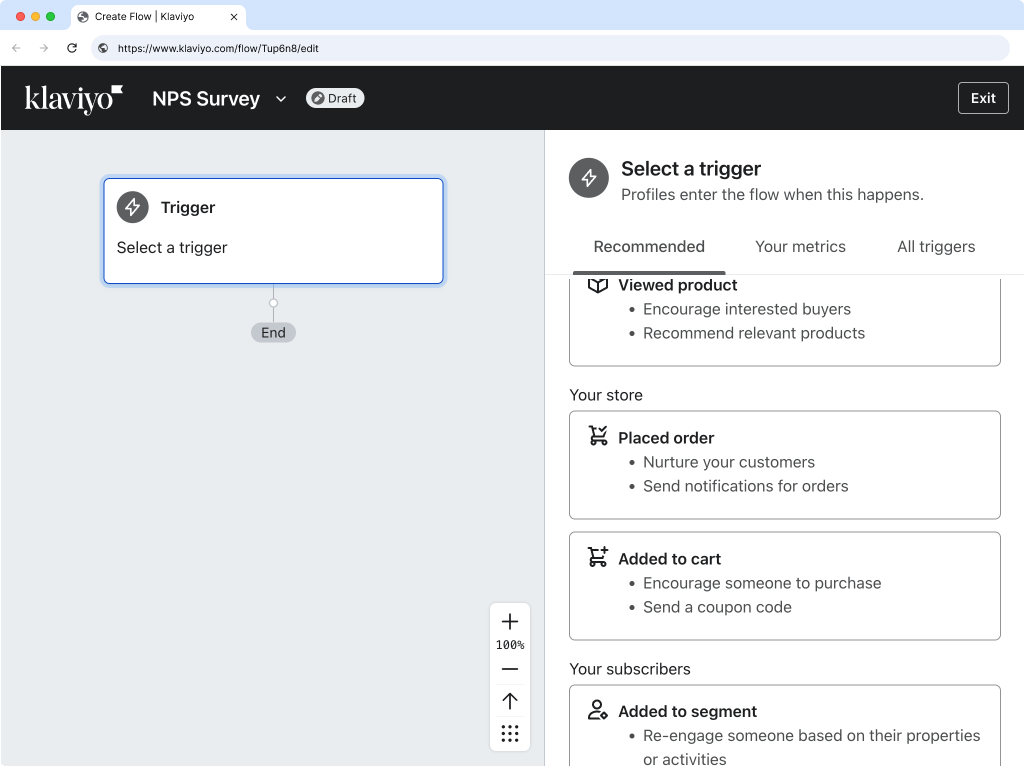
-
Add a
Time Delayaction after the Placed Order trigger.
-
Configure the time delay and click
Save. We recommend 10-15 days to ensure the product has been received before sending your NPS question.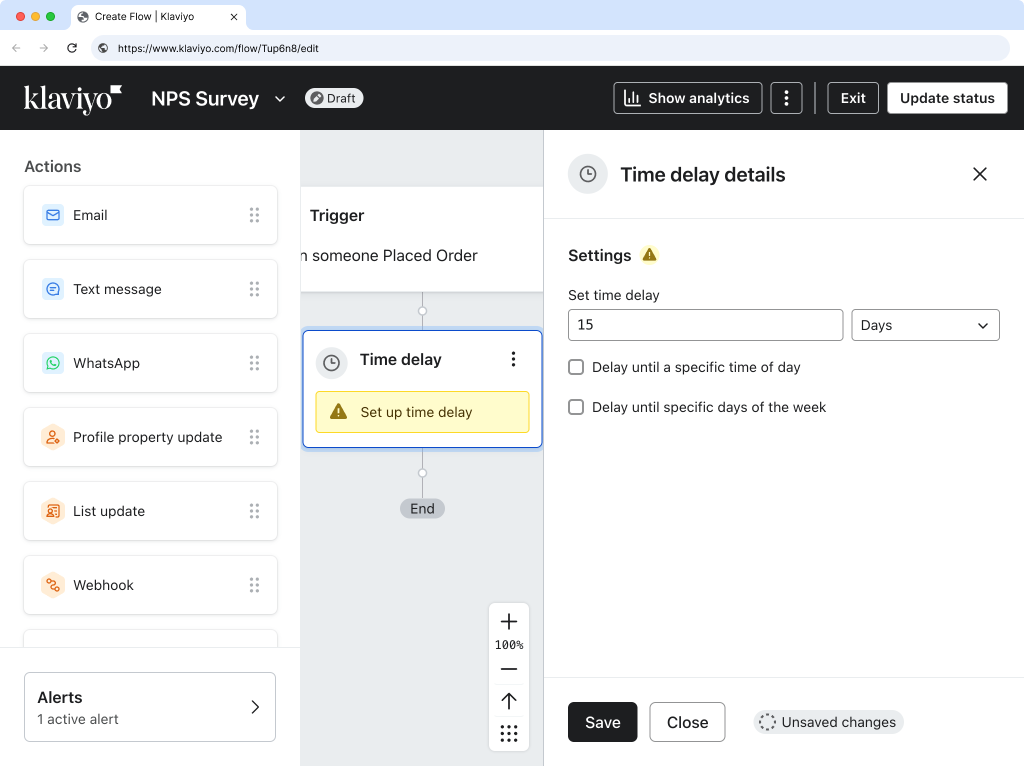
-
Add an
Emailaction after the Time Delay.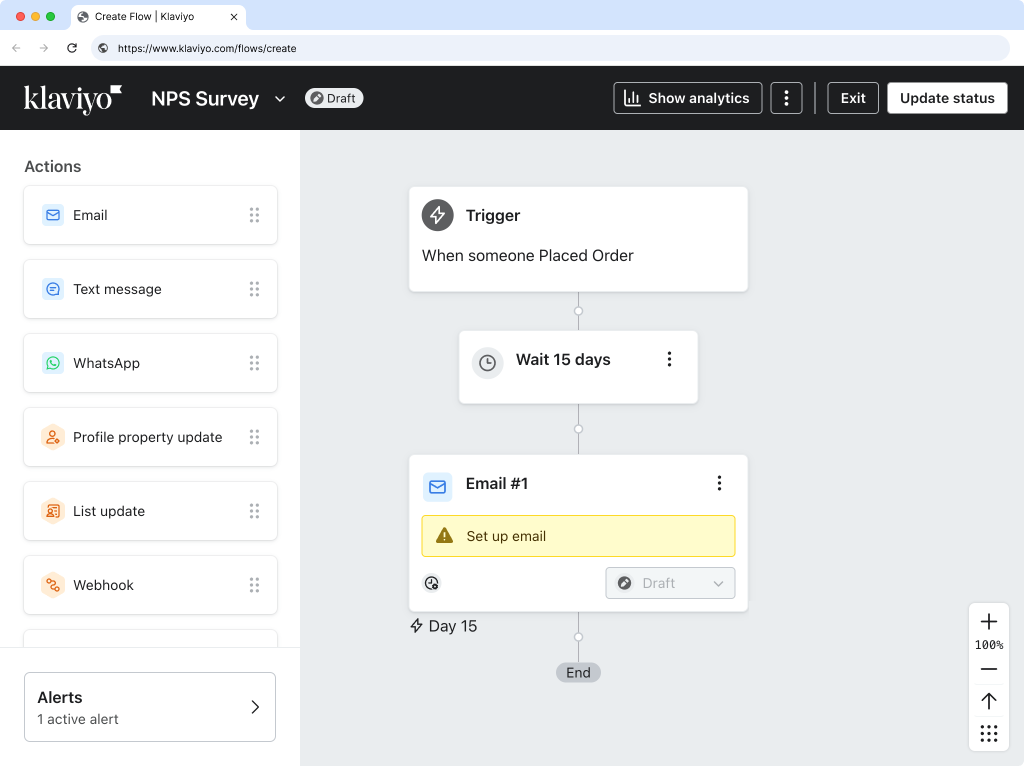
-
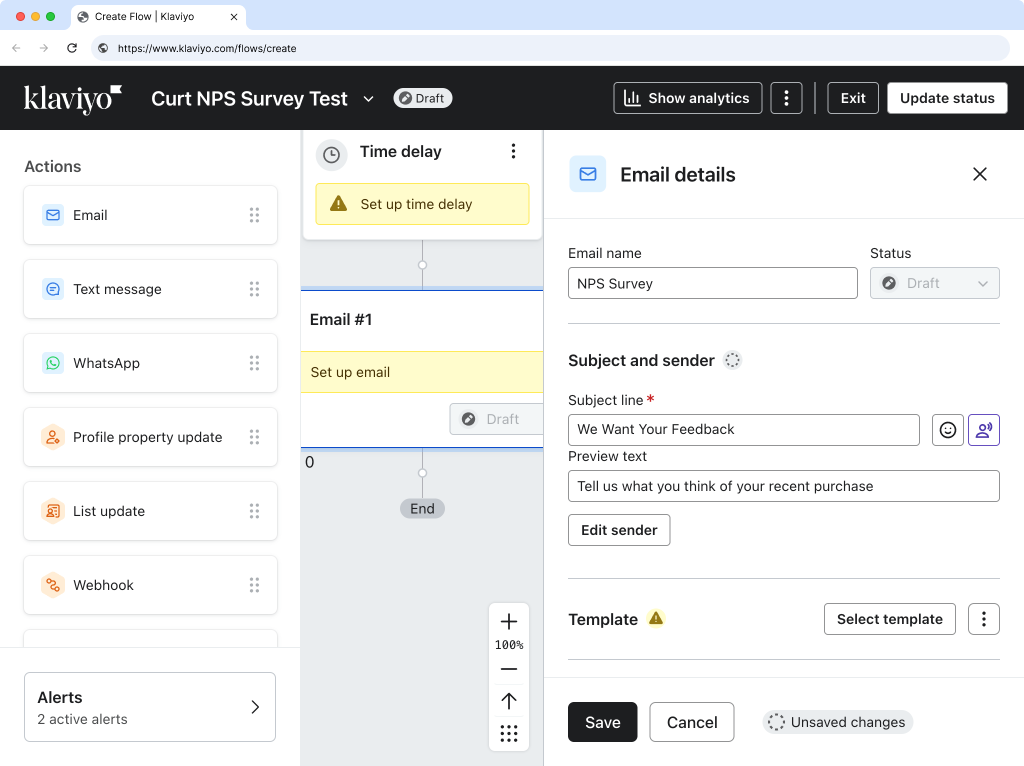
In Email details, set up your Email name, Subject line and Preview text.
-
Click
Select template.
-
Click
Create.
-
Add a
Textblock to your email template. Change the text to your question — for example On a scale of 0-10, how likely are you to recommend our product to a friend or colleague? — and style it.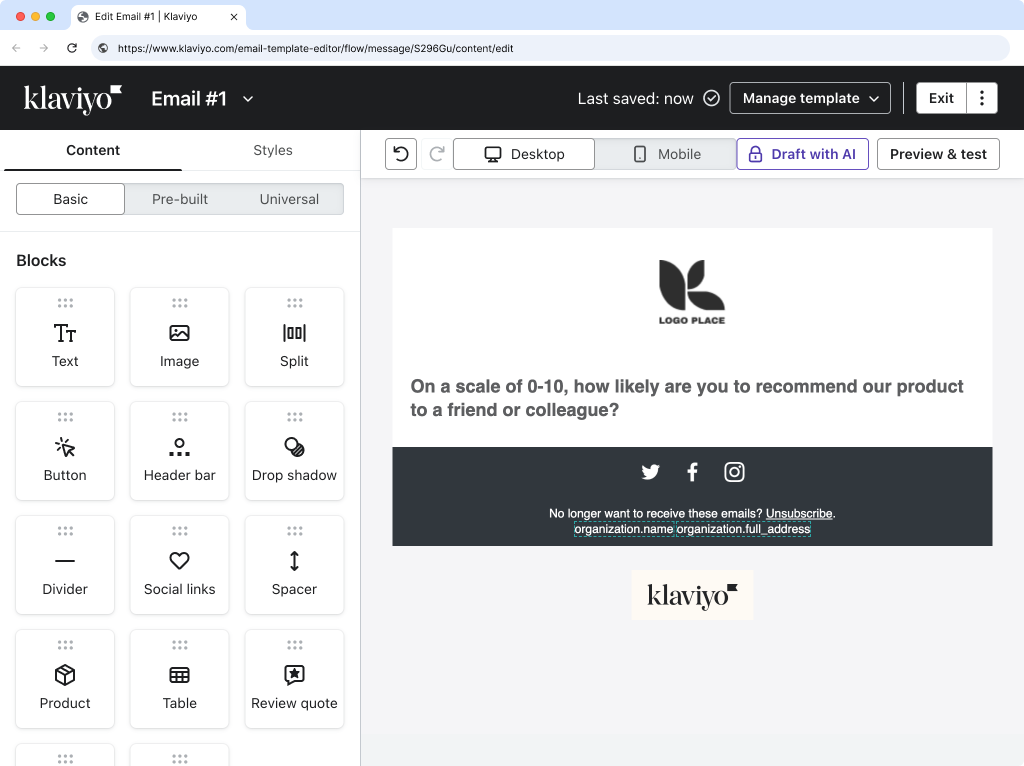
-
Add an
HTMLblock to your email template.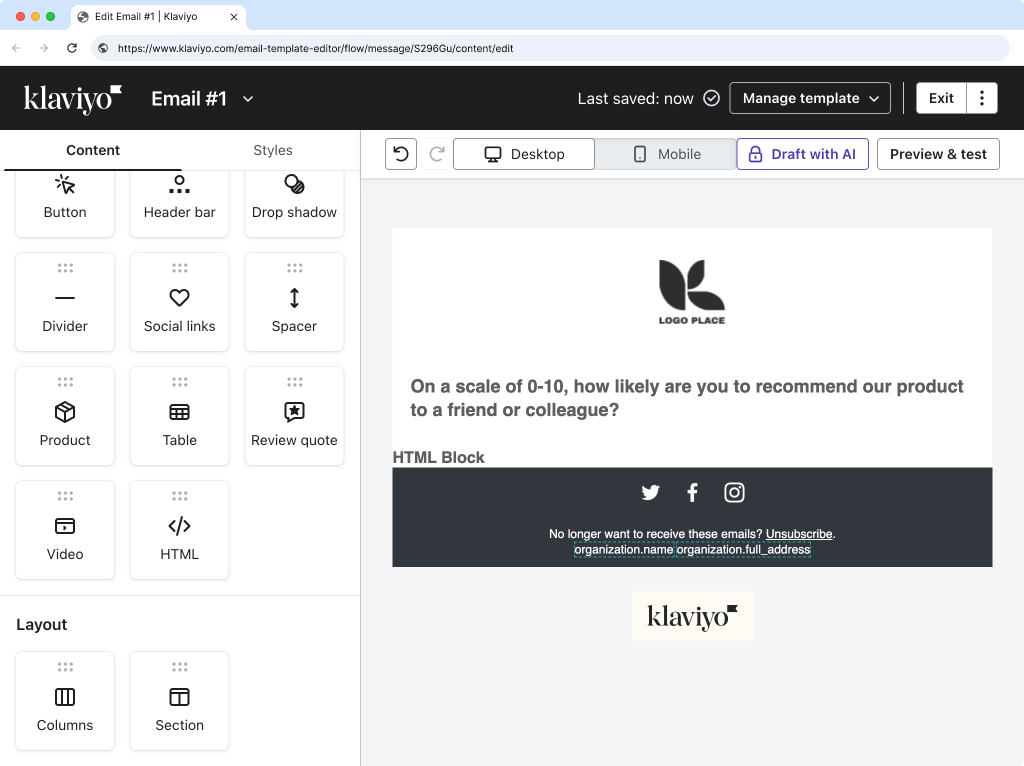
-
Use the tool below to customize how you would like the NPS component to appear in your email.
-
Copy the generated HTML below and paste it into the HTML
Contentinput in the email editor in Klaviyo.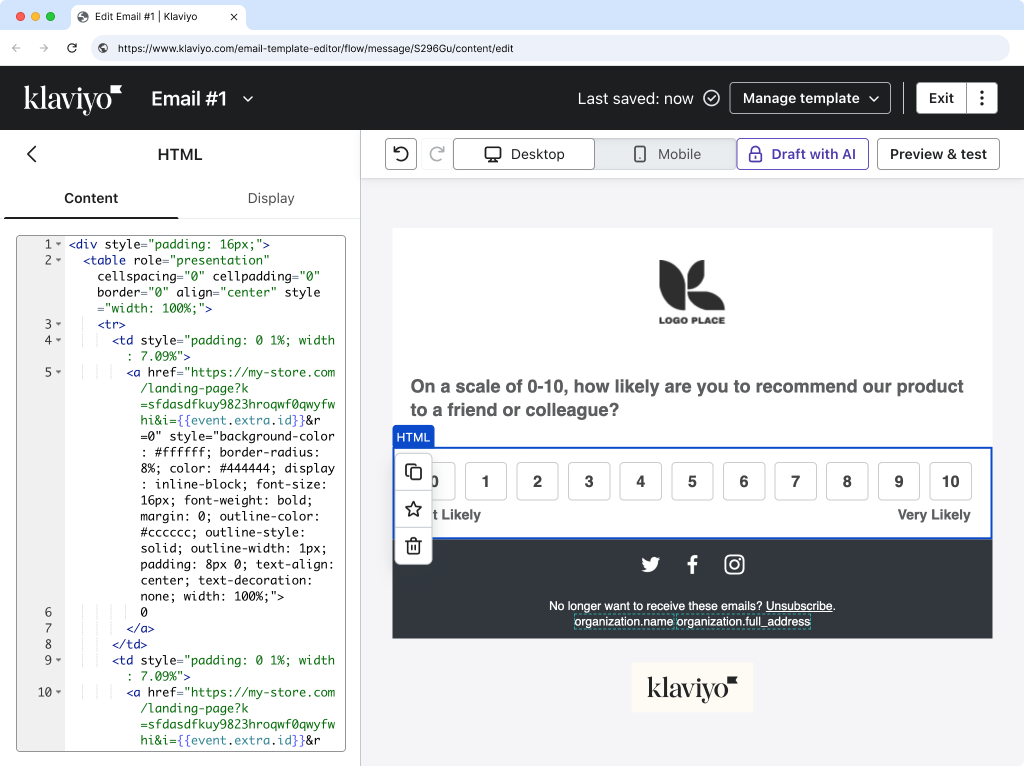
-
Optional: Preview and test your email.
Note: The links in the preview email will not work because dynamic data is not populated.

-
Click the
⋮next toExitand clickReturn to Flow.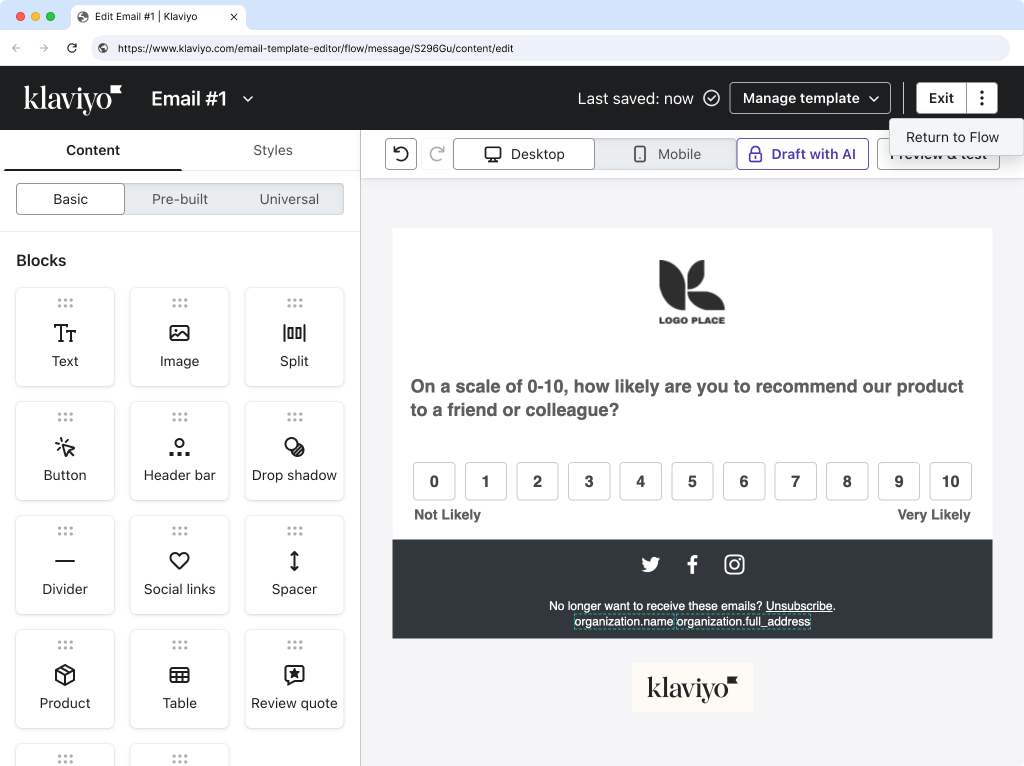
-
Confirm your email has a
SubjectandPreview Text.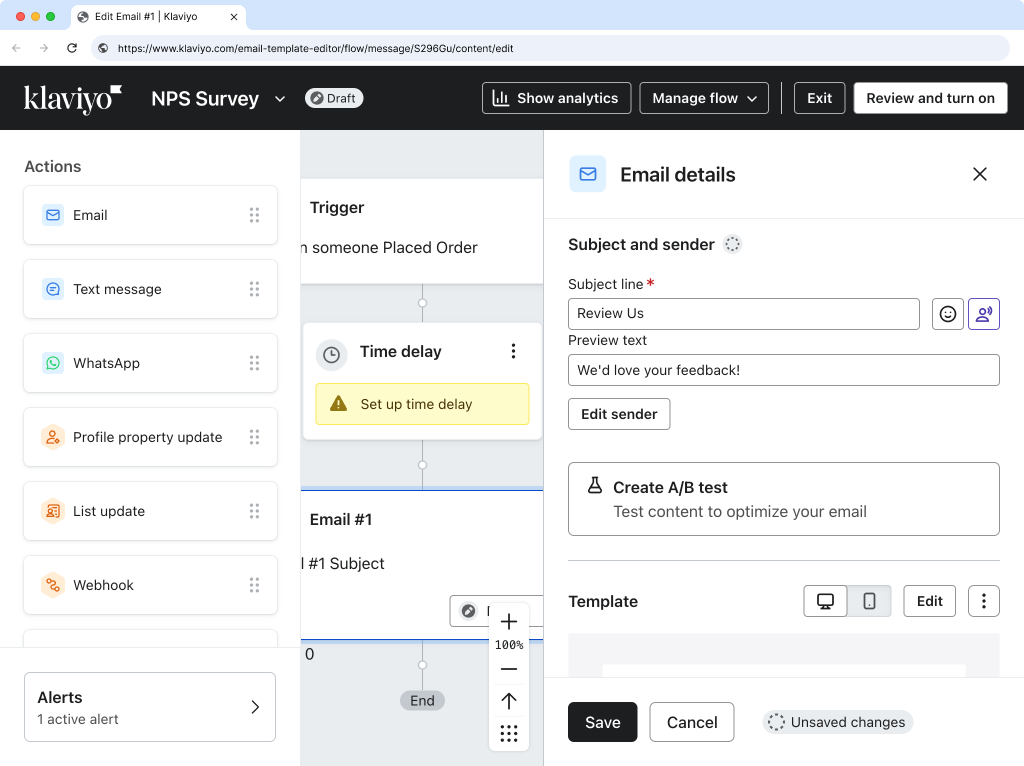
-
Change the email status to Live.
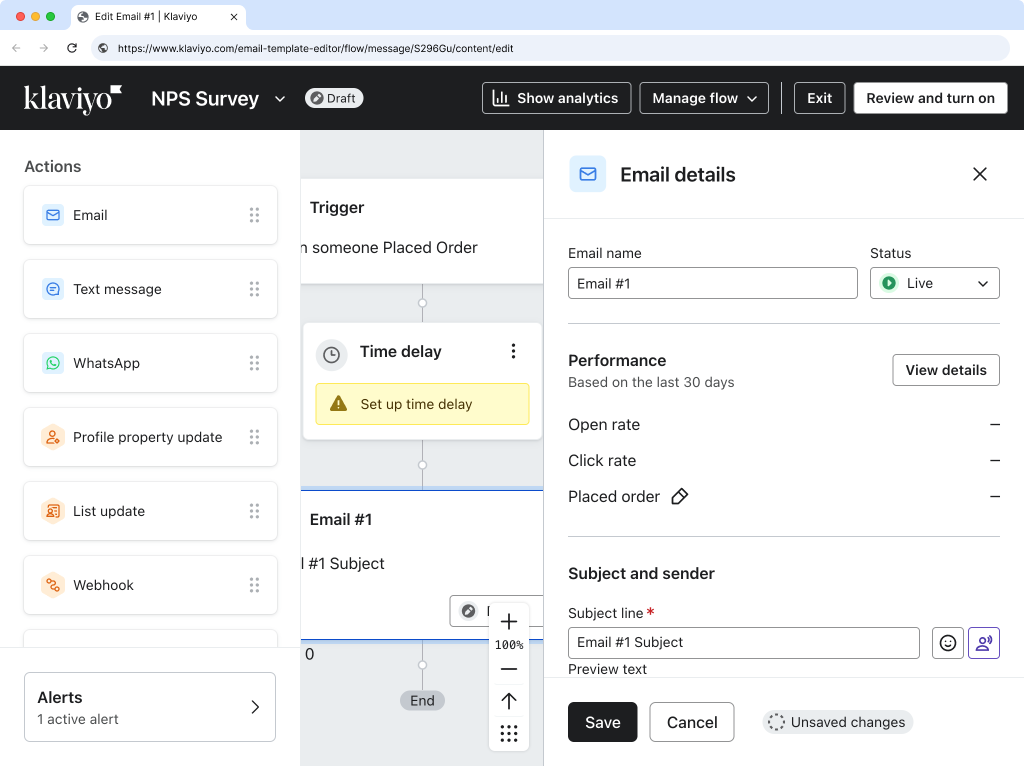
-
Click
Save.
-
Congratulations! Your NPS email is now live.